Copper bar production involves two key decisions: how you melt and cast the metal, and whether you leave the bar as-cast or cold-work it afterward. Anyone researching how to make copper bars for a shop project or a production run needs to understand both, because each stage trades conductivity against strength.
What Are Copper Bars?
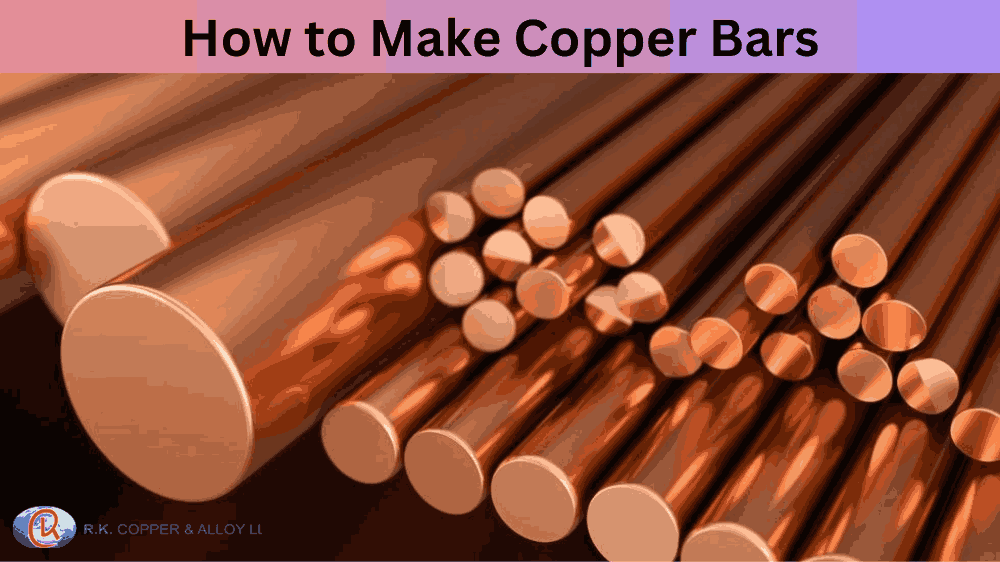
Copper bars are solid rectangular, square, or round sections of commercially pure copper, usually the C11000 electrolytic tough pitch or C10200 oxygen-free grade. Pure copper carries 100% IACS conductivity by definition, and standard ETP bar rates near 101% IACS in practice. That conductivity, combined with a thermal expansion coefficient around 16.5 µm/m·°C, makes copper bars the standard choice for bus bar work, switchgear connections, and capacitor terminals.
Material Selection: Why Alloy Choice Changes the Outcome
Pure copper does not respond to precipitation hardening. Its face-centered cubic structure strengthens only through cold work, hammering or rolling, and that process raises hardness while cutting conductivity as dislocation density builds up inside the grain structure.
For applications that need higher strength without losing conductivity, engineers specify precipitation-hardened alloys instead of pure stock. Chromium copper (C18200) forms fine chromium precipitates during aging at 450–480°C, reaching 350–500 MPa tensile strength while holding 80–85% IACS conductivity, which is why it’s the standard for resistance-welding electrodes. Beryllium copper (C17200) ages at a lower 315–340°C and trades conductivity for strength, reaching 1,000–1,380 MPa at only 20–30% IACS. Making copper bars from either alloy adds a solution-anneal and quench step that pure copper bars skip entirely.
Process of Making Copper Bars
1. Gather Materials
How to make copper bars starts with sourcing: cathode copper, billets, or clean scrap cut from sheet stock. You’ll also need a crucible rated above 1,200°C; graphite or clay-graphite works for most small-shop setups, plus a mold sized to your target bar. Keep gloves, eye protection, and a fire-resistant surface within reach before lighting the furnace.
2. Prepare the Furnace
Bring the furnace to temperature gradually, adjusting air supply as the fuel bed stabilises. Copper melts at 1,085°C. Most furnaces need to run 100–150°C above that figure to keep the melt fluid long enough for a clean pour. Add borax flux at this stage if the feedstock shows visible oxide scale.
3. Melt the Copper
Load the crucible with copper scrap using tongs, filling it to the highest level safely possible to cut down on reheating cycles. Full vaporization generally takes 20–40 minutes, depending on furnace output and scrap size. Smaller, cleaner pieces melt faster and more evenly than large chunks.
4. Add Flux and Skim Impurities
Sprinkle flux across the melt surface once it’s fully liquid. Impurities rise as a sludge layer within one to two minutes. Skim this layer off with a steel ladle, then stir briefly to pull any remaining oxides to the surface before pouring.
5. Pour and Cool
Coat the mould with a release agent, then pour in one steady motion to avoid trapping air pockets. Bars under 2 kg cool to a safe handling temperature in 10–15 minutes at room temperature; larger sections take longer. Once cooled, the bar can be rolled or hammered to refine grain structure and raise yield strength.
Practical Steps
- Source copper billet or clean scrap, plus a crucible rated above 1,200°C.
- Bring the furnace to 1,150–1,200°C before charging metal.
- Add flux once the charge is fully liquid, then skim the slag.
- Preheat and grease the mold; pour in one continuous stream to prevent cold shuts.
- Air-cool the bar, then decide whether it stays as-cast or gets rolled for added strength.
Conclusion
Making copper bars for electrical bus work favors a soft or as-cast temper, since conductivity matters more than strength there. Structural brackets, wear plates, and mechanical fittings prefer a medium or hard temper. Matching temper to application is the essence behind how to make copper bars that perform correctly, not just bars that look finished.
Wear eye protection, heat-resistant gloves, and a respirator rated for metal fume whenever melting or pouring copper. The process itself only takes a furnace, a crucible, flux, and a mold, but the temperature and oxygen control decide whether the finished bar meets spec.